Work through the examination
Use the worklist, registration, checklist, protocol, and positioning controls. Then practice acquisition, review, and simulated transfer to PACS, the imaging archive system.

Magnetic Resonance Imaging Simulator
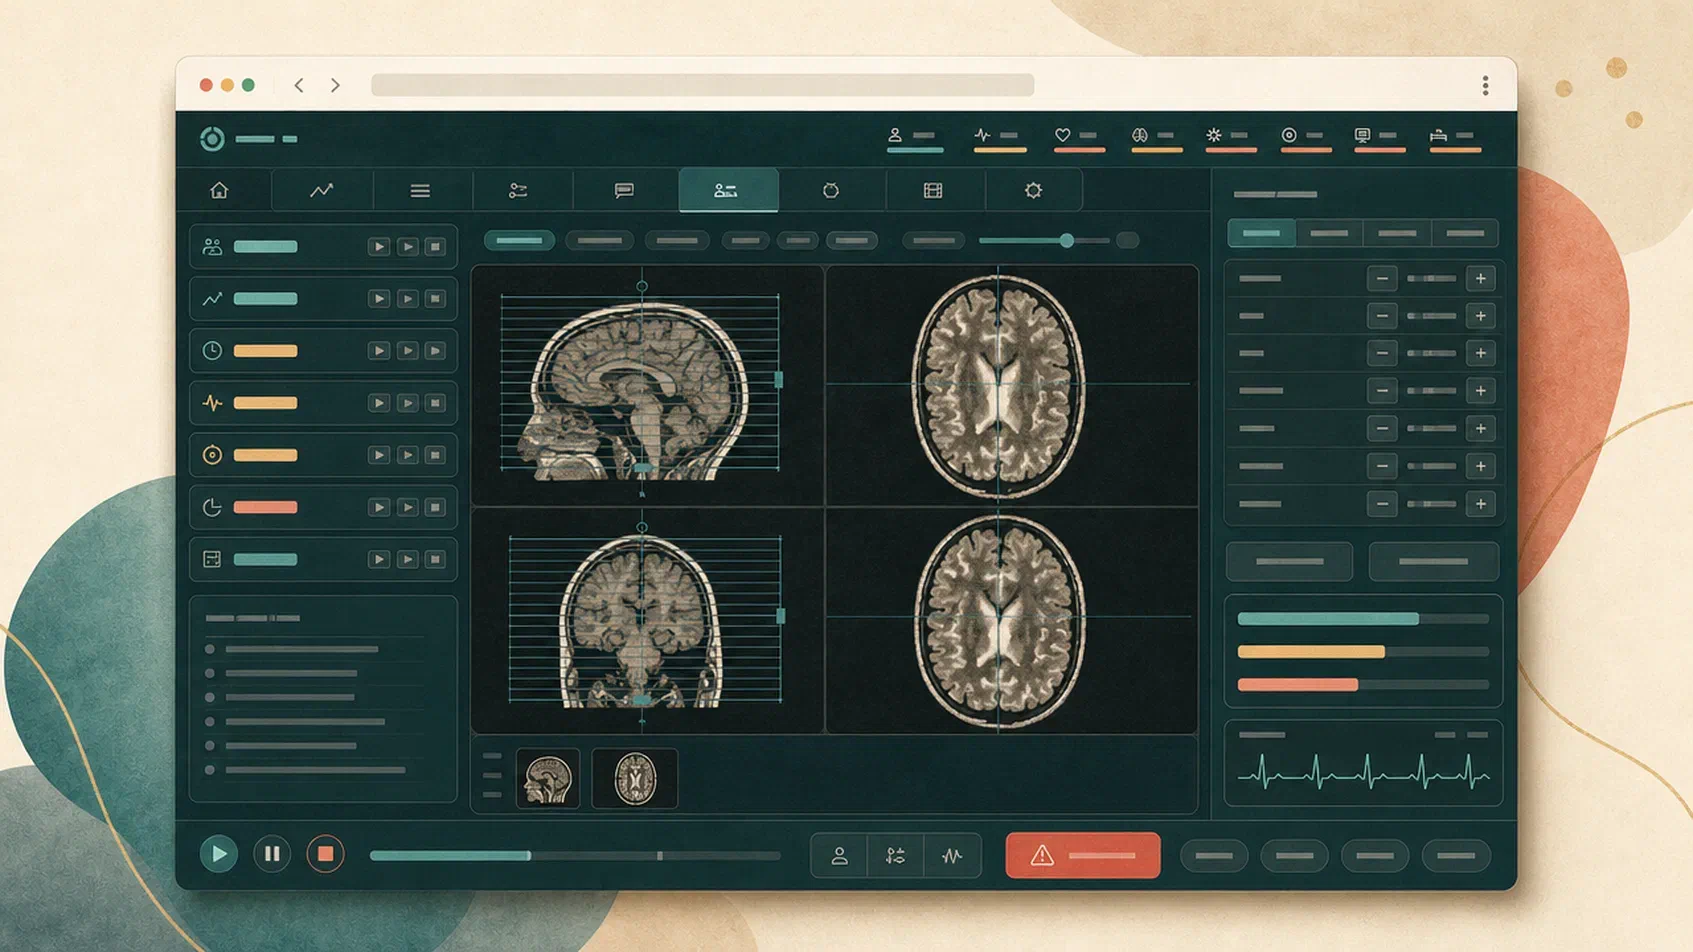
An MRI console that runs in your browser. Adjust the parameters, acquire the sequences, and follow how each decision affects the image and the examination time.
Space to learn
Choosing a protocol, positioning the patient, and adjusting a sequence are connected decisions. Having time to pause, observe the result, and try again can help make sense of them.
The IMAGIX MRI Simulator provides that space without operating a real scanner. Practice is individual. Each person works through the simulated examination at their own pace, repeats it as often as they like, and receives an assessment of what they did when they finish.
What you can practice
Use the worklist, registration, checklist, protocol, and positioning controls. Then practice acquisition, review, and simulated transfer to PACS, the imaging archive system.
Explore parameters such as TR, TE, field of view, and slice thickness. Observe how changes affect contrast, acquisition time, and the indicators calculated by the simulator.
Adjust position, angulation, and coverage on the localizer images. Experiment with saturation bands and field homogeneity settings to understand their effects on acquisition.
The virtual patient responds to examination time, noise, and communication over the intercom. Movement, anxiety, comfort, and breath holding count towards the result of the simulated examination alongside the technical parameters.
Simulated events, such as a patient call or the presence of a ferromagnetic object, require a sequence of actions. Each one has an expected procedure, checked in the examination assessment.
At the end of the examination, review the assessment and export a report explaining the errors identified. Your examination history is recorded in your account.
Your first session
The console and the supporting materials are not open to the public. Access uses individual accounts, with the student, instructor, or administrator role, and is arranged with IMAGIX.
Request access to the simulatorTalk to IMAGIX about your intended use to receive accounts for the people who will practice and for whoever will administer the environment.
Before the first examination, the radiology review and the operator manual introduce the workflow, the controls, and the effect of each parameter.
Open an examination from the worklist and work through registration, safety checks, protocol selection, and positioning.
Complete the preliminary adjustments, plan the slices, and acquire the sequences. Review the images and connect the result to your decisions.
Complete the simulated PACS transfer and close the examination. The report lists the errors identified and explains the expected procedure for each one.
Mentoring, when it makes sense
The standard way to use the simulator is on your own, with nobody on the other side. The environment itself assesses the examination, points out the errors, and explains the expected procedure, so you can learn and repeat without depending on someone else's schedule.
With mentoring, contracted separately, an instructor follows the sessions from their own panel. There they can watch the virtual patient's vital signs, adjust their behaviour, introduce incidents during the examination, and review each student's performance history to decide what to practice next.
Talk about mentoringBefore you begin
The simulator runs in your browser without installation or plugins. The console is designed for wide screens; at 1480 pixels wide or more, it fits without horizontal scrolling. Use headphones or speakers if you enable audio.
The console, the radiology review, and the manuals sit behind individual accounts and have no public access. Access is arranged with IMAGIX and defined by the student, instructor, or administrator role. The product page describes the simulator without requiring an account.
No. Individual use is the standard. The simulator assesses the examination and generates the report without anyone following along. Having an instructor present during the session, with a panel to watch the student and trigger incidents, is part of mentoring, which is contracted separately.
Scenarios cover regions such as the brain, spine, joints, abdomen, and breast, as well as situations involving claustrophobia, movement, and implants. Each case presents preparation and acquisition decisions within the simulation.
It complements training. Patients, examinations, and equipment are fictional, and the models include simplifications. The simulator does not replace supervised training, validate clinical protocols, or support decisions about real patients.
Next step
The product page details the console, the sequences, and the scenarios available. To arrange access for one person, a team, or a class, talk to IMAGIX.